Submitted by Tom Nitza & DJ DePanicis
1231 & Plymouth
On Friday Tom looked at two battery chargers that we had found in one of the hospital cars. They were originally intended to be used to charge golf carts and they were rated at 36 volts. When I tested one of them it didn’t put out any voltage. There’s a possibility that it may have to be hooked to a battery and sense some voltage before it will begin charging. We’ll have to wait for a warmer day to lug it outside and test that theory.
The other charger put out 52 volts so I decided that it probably wouldn’t be good to use it since both the 1231 and the Plymouth operate on 32 volts.
Wabash Flatcar
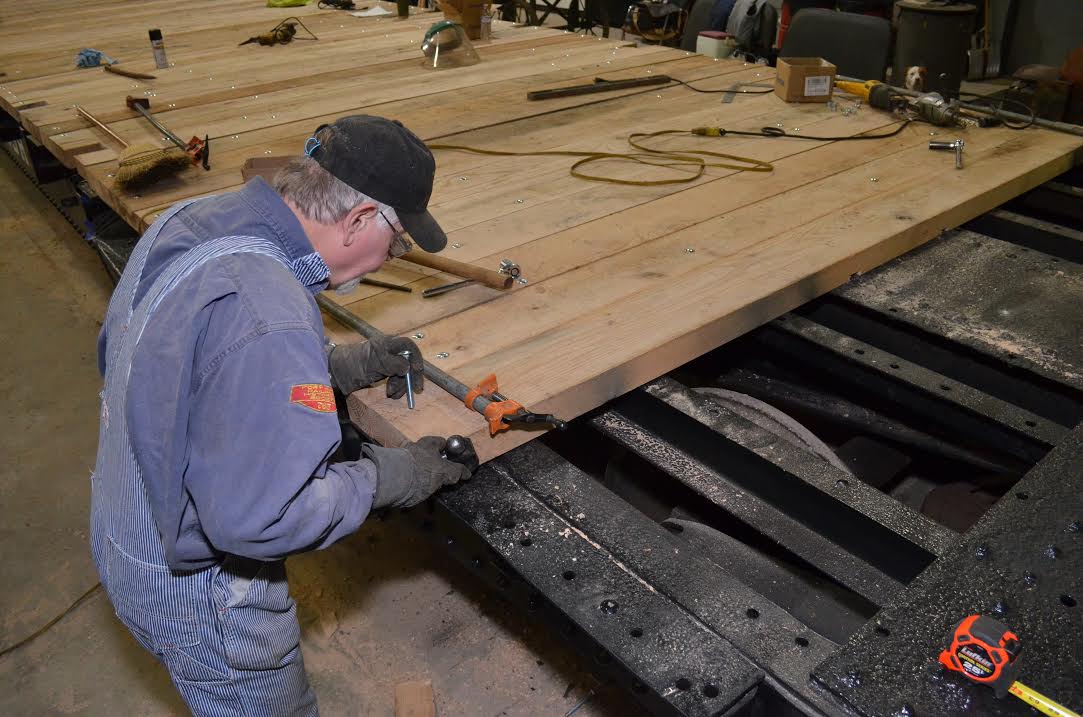
The balance of Thursday & Friday, and well into the evening, was spent in helping the apply decking to the flat car. Not a technically difficult job, but each timber is very heavy and must be custom fit to conform to the rivets underneath. Anyway, we called a halt to operations at 9:30 when we ran out of lumber. Three more are needed to finish the job. Meanwhile, sealer was applied to the new decking prior to putting the flat car outside and the SD 9 inside.
Boxcar
Next work day will be Friday February 15th. Rich and I will resume work on the box car. We need to clear the area around the north side of the car in preparation for more demolition. After that we’ll work on replacing a portion of the top beam which has a fairly large rotted area.
At the conclusion of the weekend, much progress has been made at the the shop in planning. I spent Saturday at the planning retreat and came away with much information. It is clear that each project manager has a clear plan, and a determination to make each plan become reality. The society has many projects being worked on currently and a strong plan to make progress on each. It is a great time to be active at the shop.
Wabash Caboose
Sunday saw progress on the header beam of the north side of the car. Chuck, Matt, and DJ began the day by measuring the car for correct beam length. We decided that it would make the most sense to clamp the two Header beams together as we made our cuts. This would ensure that both sides were equal as we begin to install rafters. Once the beam was cut to length, we marked our placement of the rafters and began making our notches. again this was done with both beams clamped together. Once cut, the material was removed and Steve went through with a wood chisel and cleaned up the cuts.
Flatcar work continued
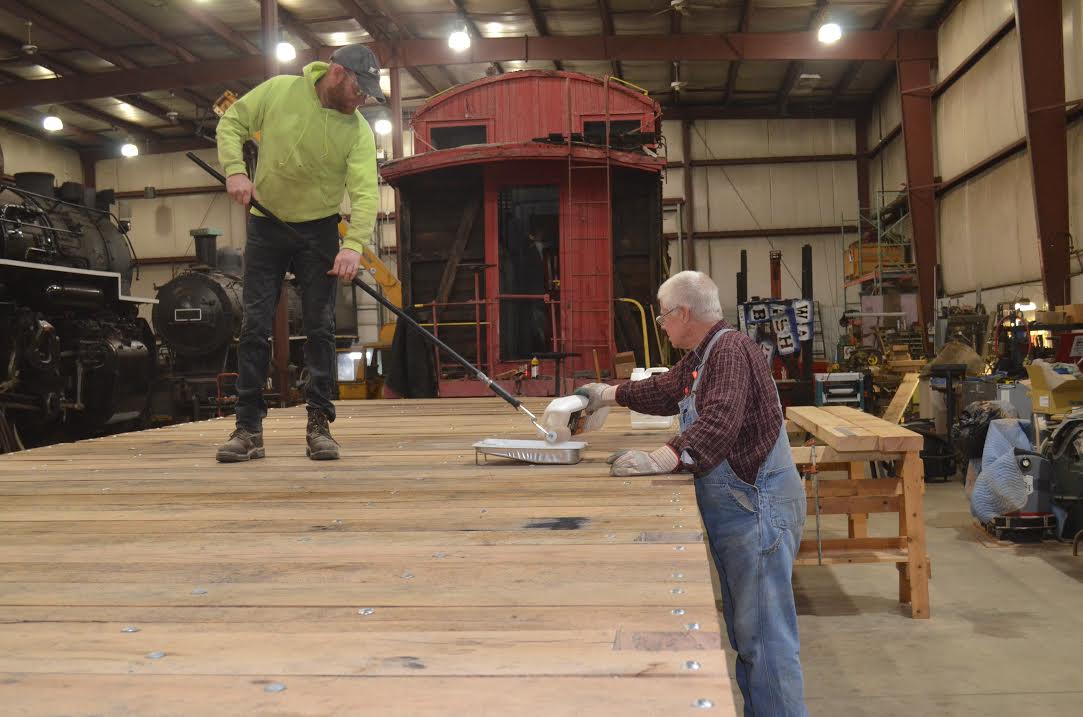
Sealer was applied prior to being moved outside
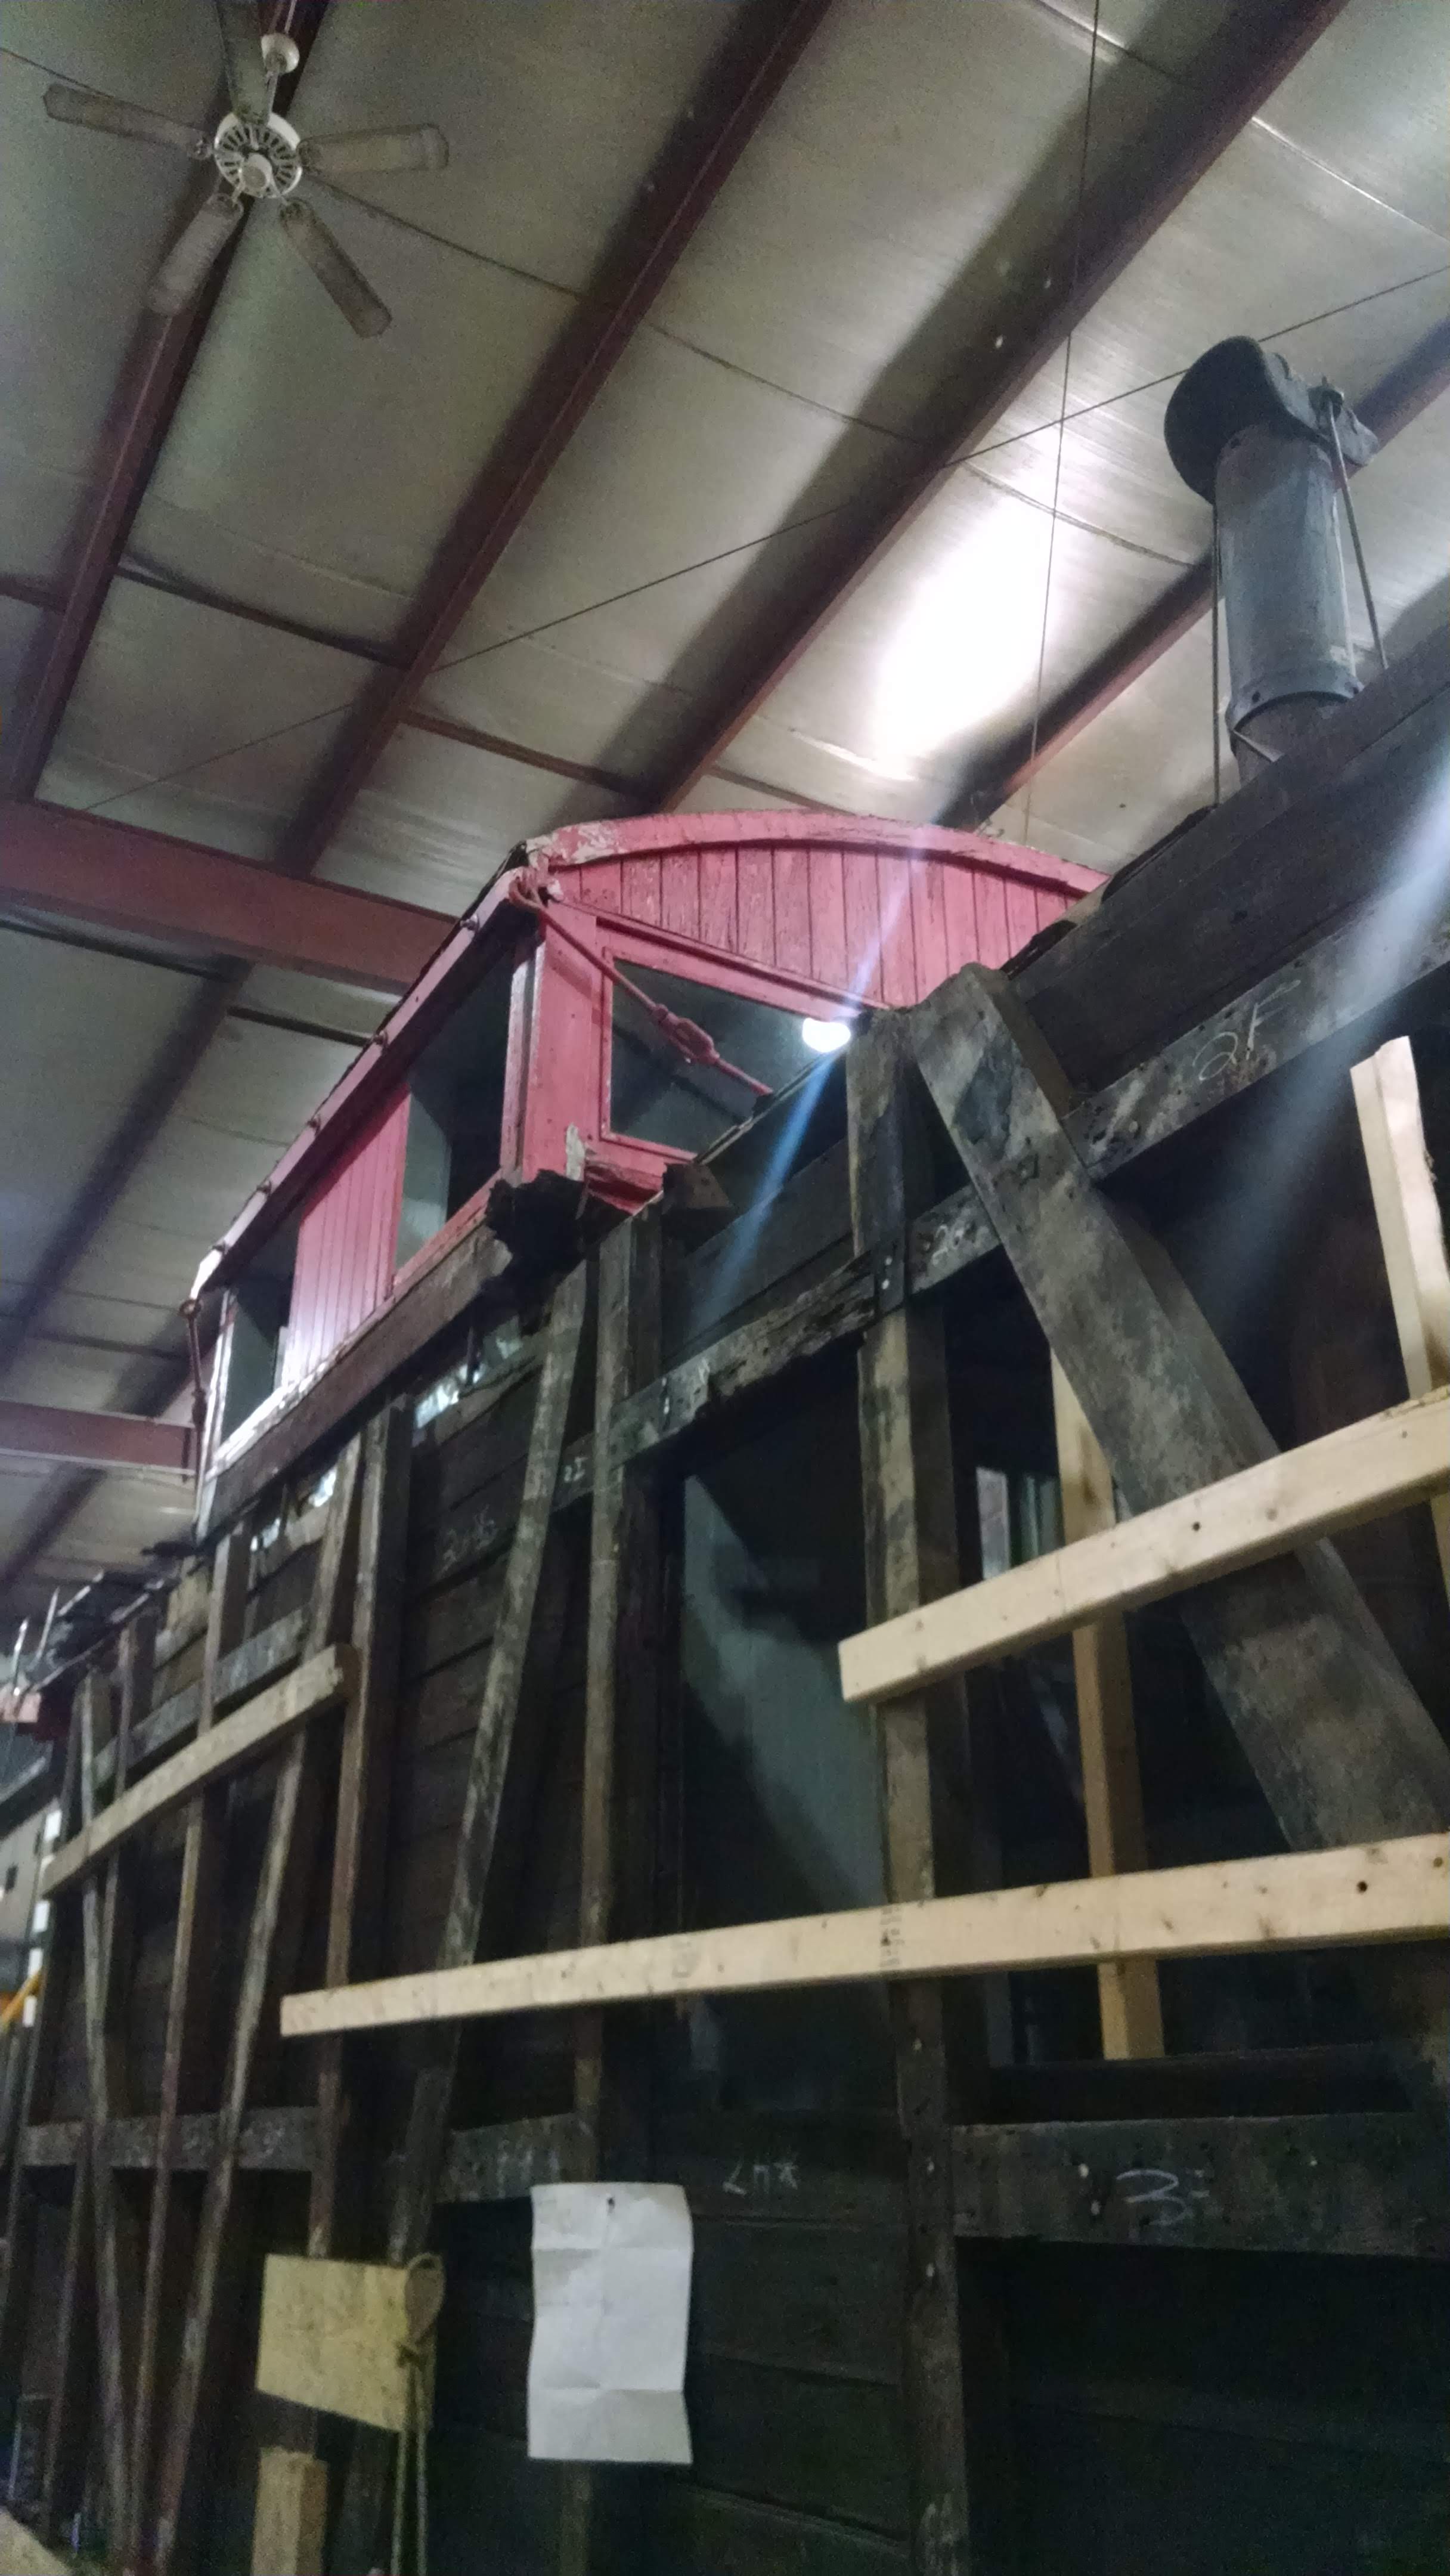
Wabash caboose with old header beam removed